Cleaning Out Pugmill

GAVIN MOREIRA, Member Services Manager from the CMPA provides an extract from the soon to be completed CMPA’s “Conduct Blending & Mixing Reference Manual” providing some handy hints on maintaining your pugmill.
Pugmills are the main component of the blending plant, where all the combinations of aggregate, water and additives are mixed together forming a product which suits the customer’s requirements.
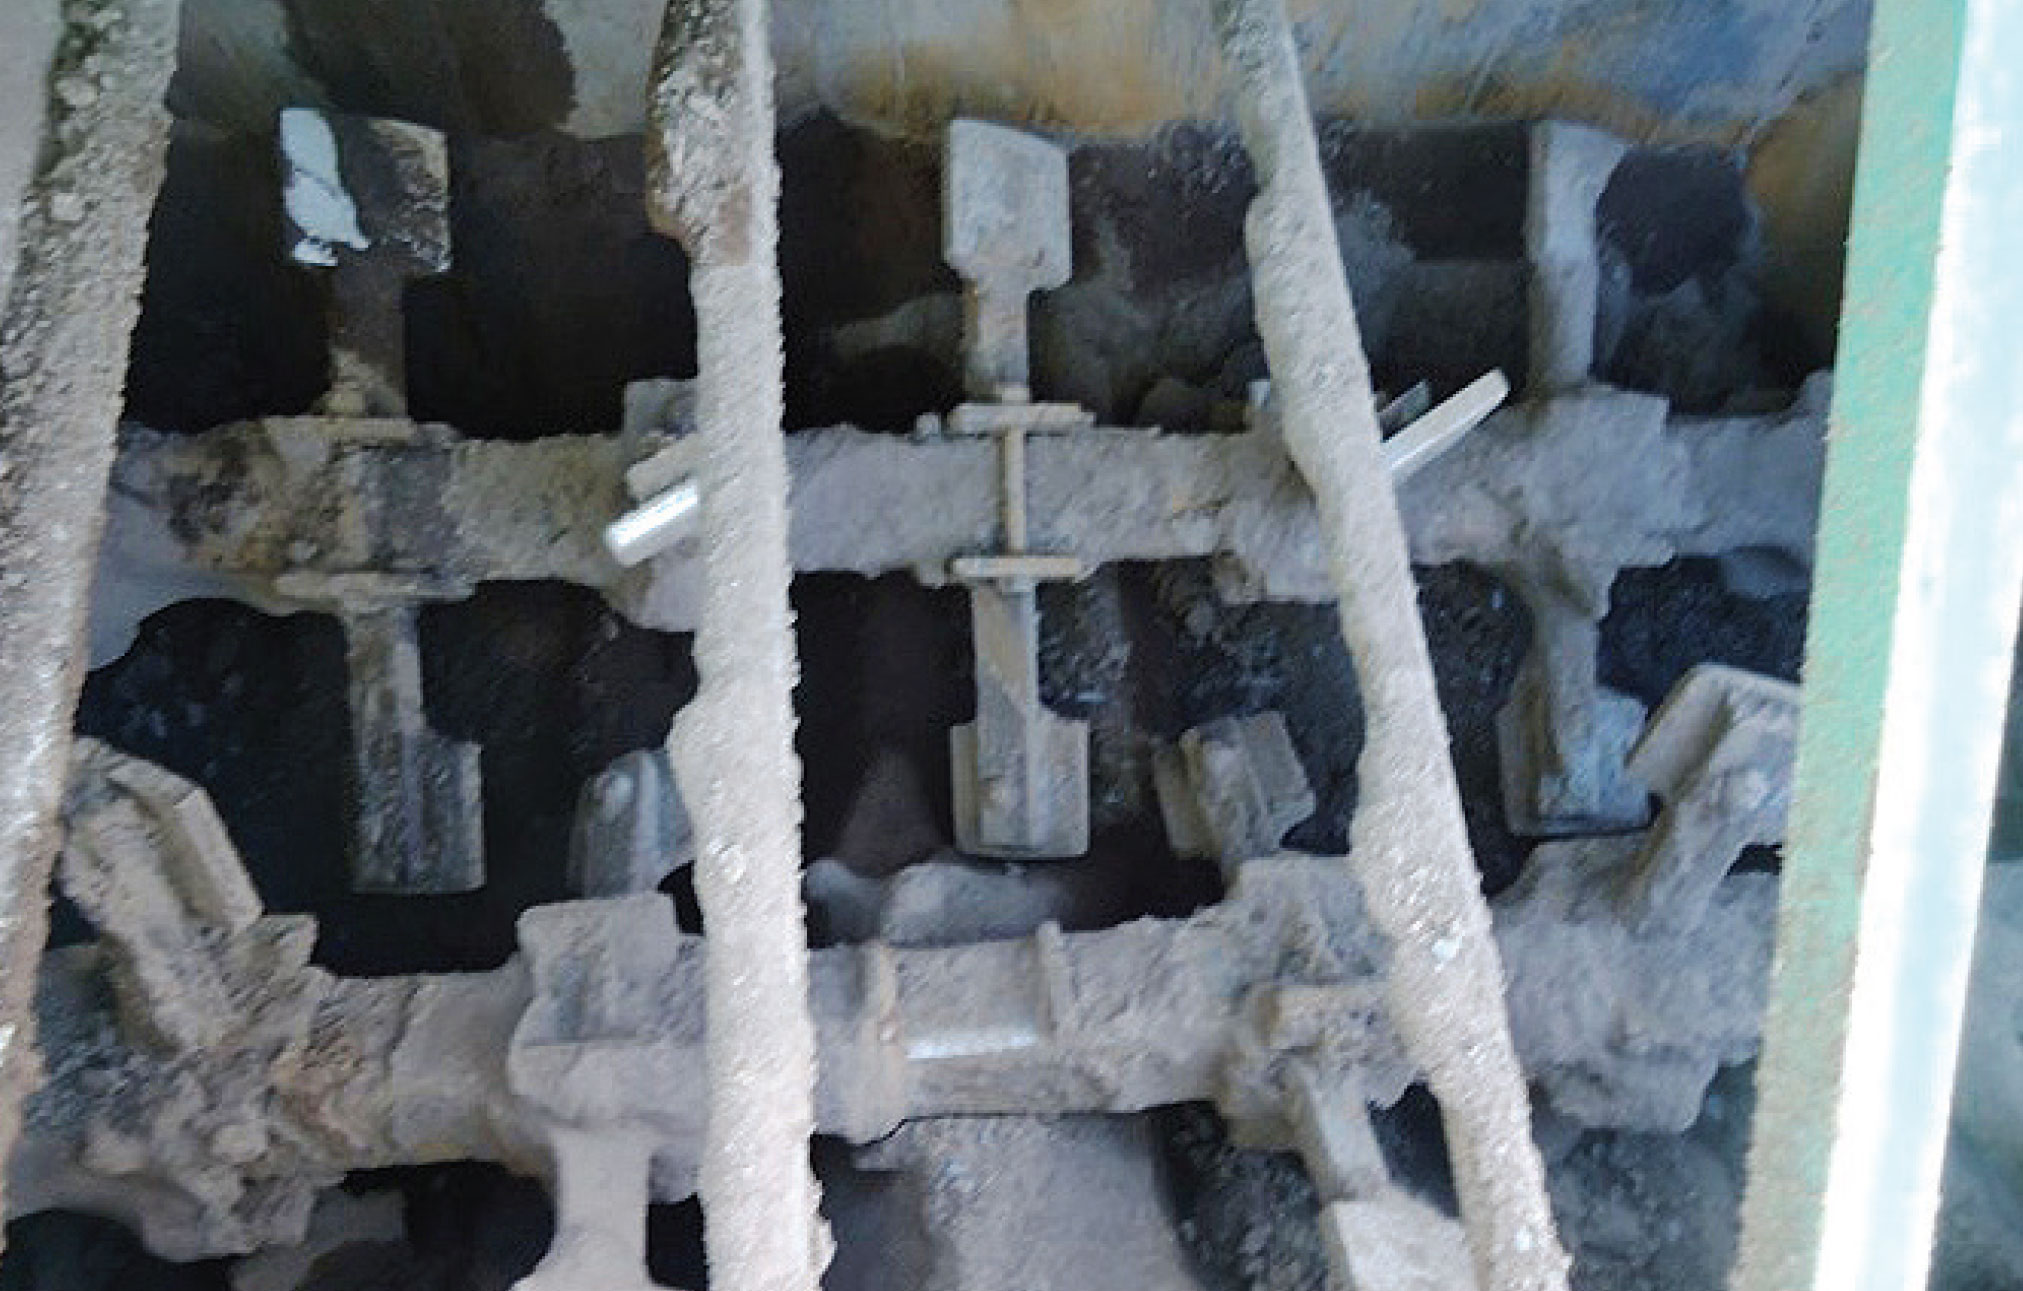
Unclean Pugmill

Cleaning the pugmill

Cleaned pugmill
Each time there is a change in product required by a customer or a shift change, the pugmill must be cleaned to avoid any contamination or low quality product being despatched.
By keeping the pugmill clean, maintenance will be easier and its overall life will increase, resulting in a more efficient and productive blending plant.
If not cleaned immediately after use, the material inside the pugmill hardens, creating blockages in the feed and discharge chutes and water nozzles.
Material left on the plant erodes, decreasing the overall wear-life. Build-up around the shafts makes them more difficult to rotate adding stress to the motor, which increases power consumption
as well as its chance of burning out.
Some pugmills have a conveyor in the base, to clean out any material left in the bottom.
Equipment Required
- Shifter or spanner
- Lock out tag and locking device
- Penetrating oil to loosen nuts
- Crowbar
- Water Hose (preferably high pressure)
Safety Requirements
- Appropriate PPE such as safety glasses, gloves, hard hat, dust mask and hearing protection
- Confined spaces permit if necessary
- Isolate and barricade the area
- Notify your supervisor and other workers in the area
Solution:
- Communicate with supervisor and other personal in the area, about the work you plan to do and gather all tools required for the task (see above).
- Shutdown machinery and follow all isolation procedures before accessing the pugmill. This includes barricading feed, preventing engulfment and power isolation. The use of a tool will be required to remove guards to allow access. Proximity switches should also be on all guards preventing access to these live areas.
- Remove all hardened material around the access door, and on main areas of the shaft, using the crowbar or similar tool. Avoid hitting delicate components such as paddle arms and tips.
- Wash out all loose material using hose, manually rotating the shaft to locate any hidden material.
- Check feed and discharge chutes for any blockages – remove and clean accordingly.
- Test water system and check for Nozzle blockages.
- Identify and fix/replace any damaged, twisted, worn or missing components.
- Clean up mess made (equipment and material product).
- Close up and remove isolation.


You must be logged in to post a comment Login